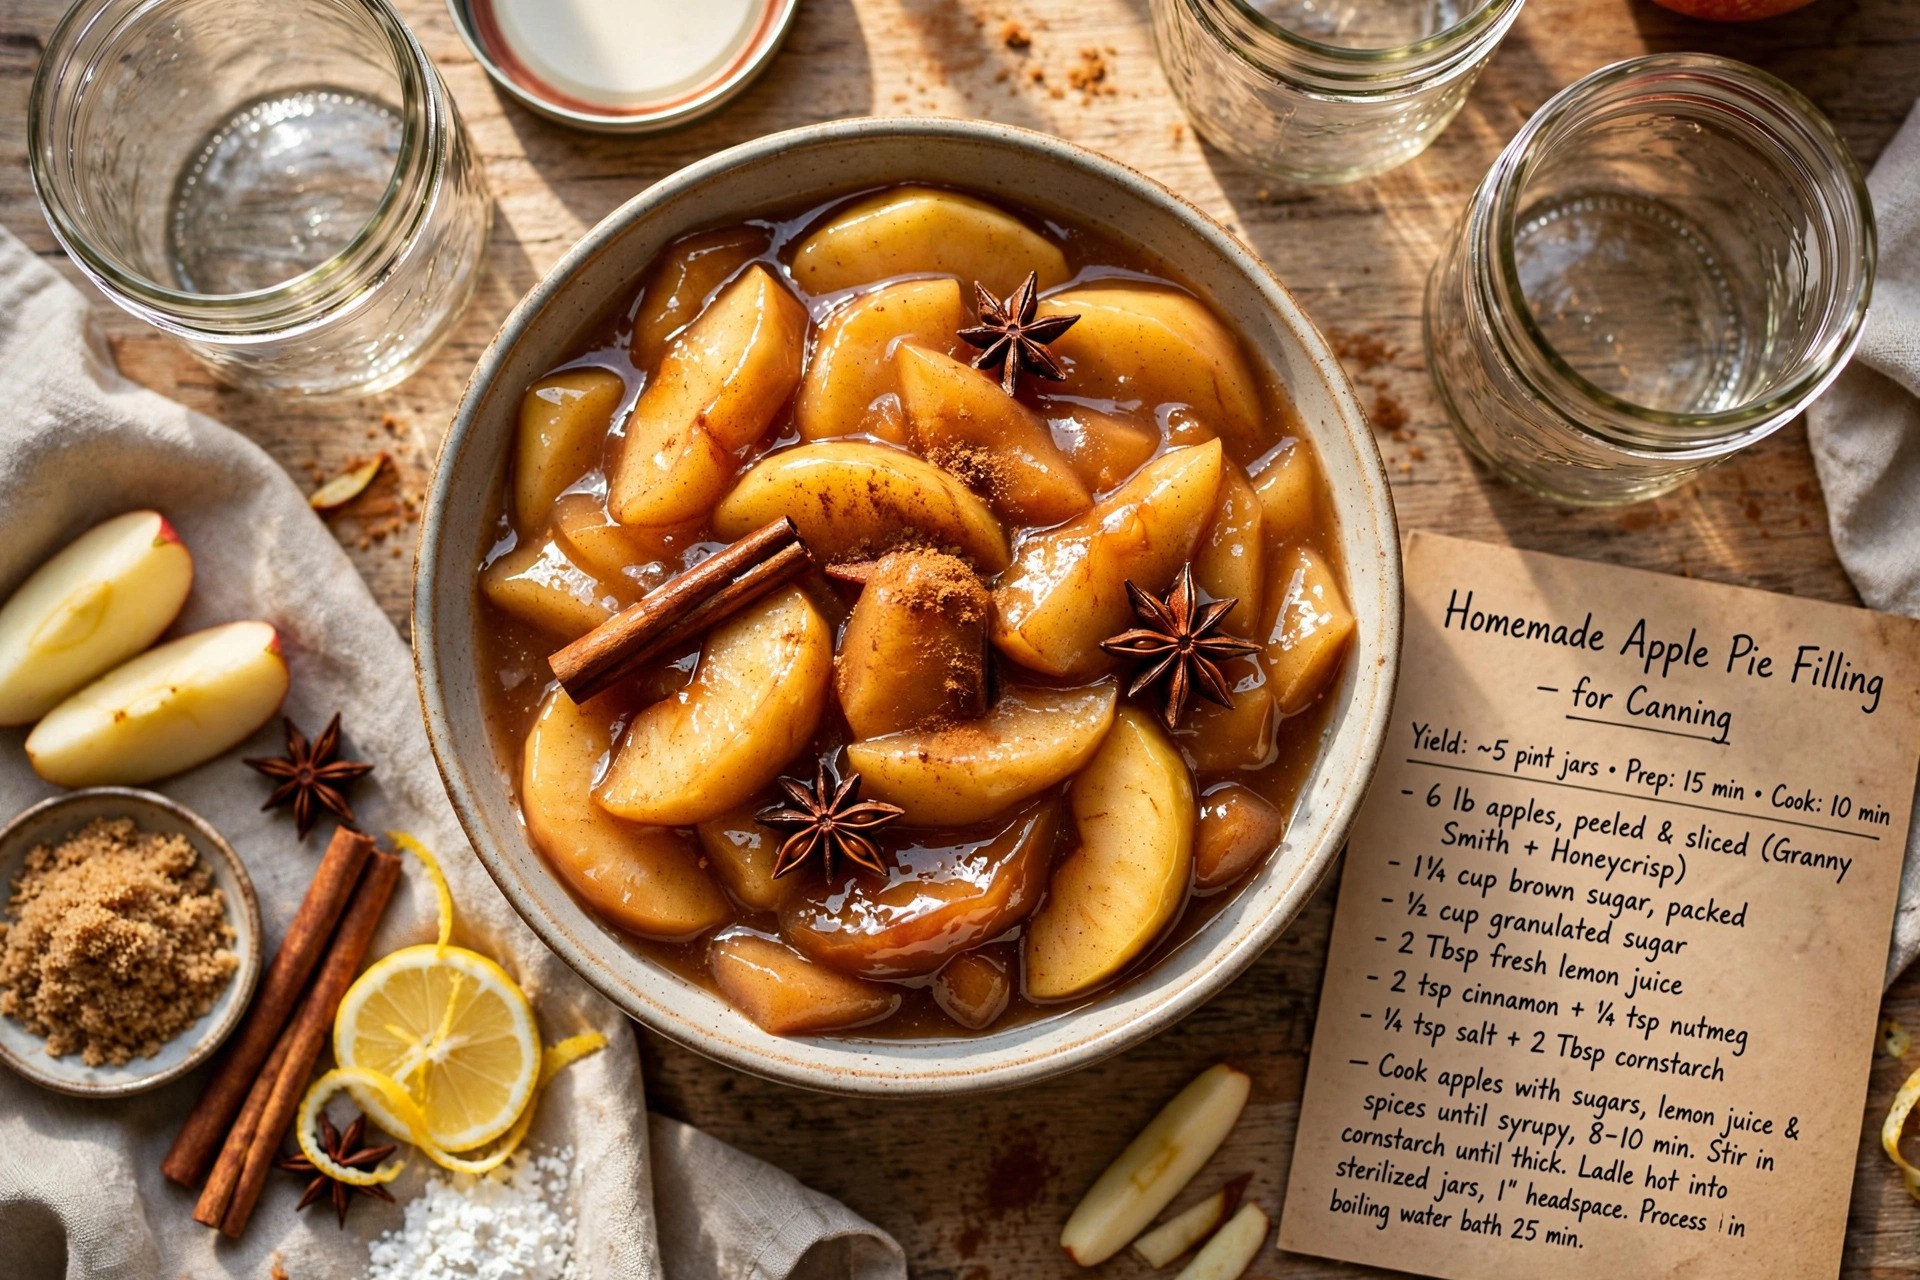
Homemade Apple Pie Filling for Canning
Learn how to make and can apple pie filling at home with this easy, small-batch canning recipe, perfect for stocking your pantry with ready-to-bake apple pie filling all year long.

Why You Need Apple Pie Filling To Can In Your Pantry
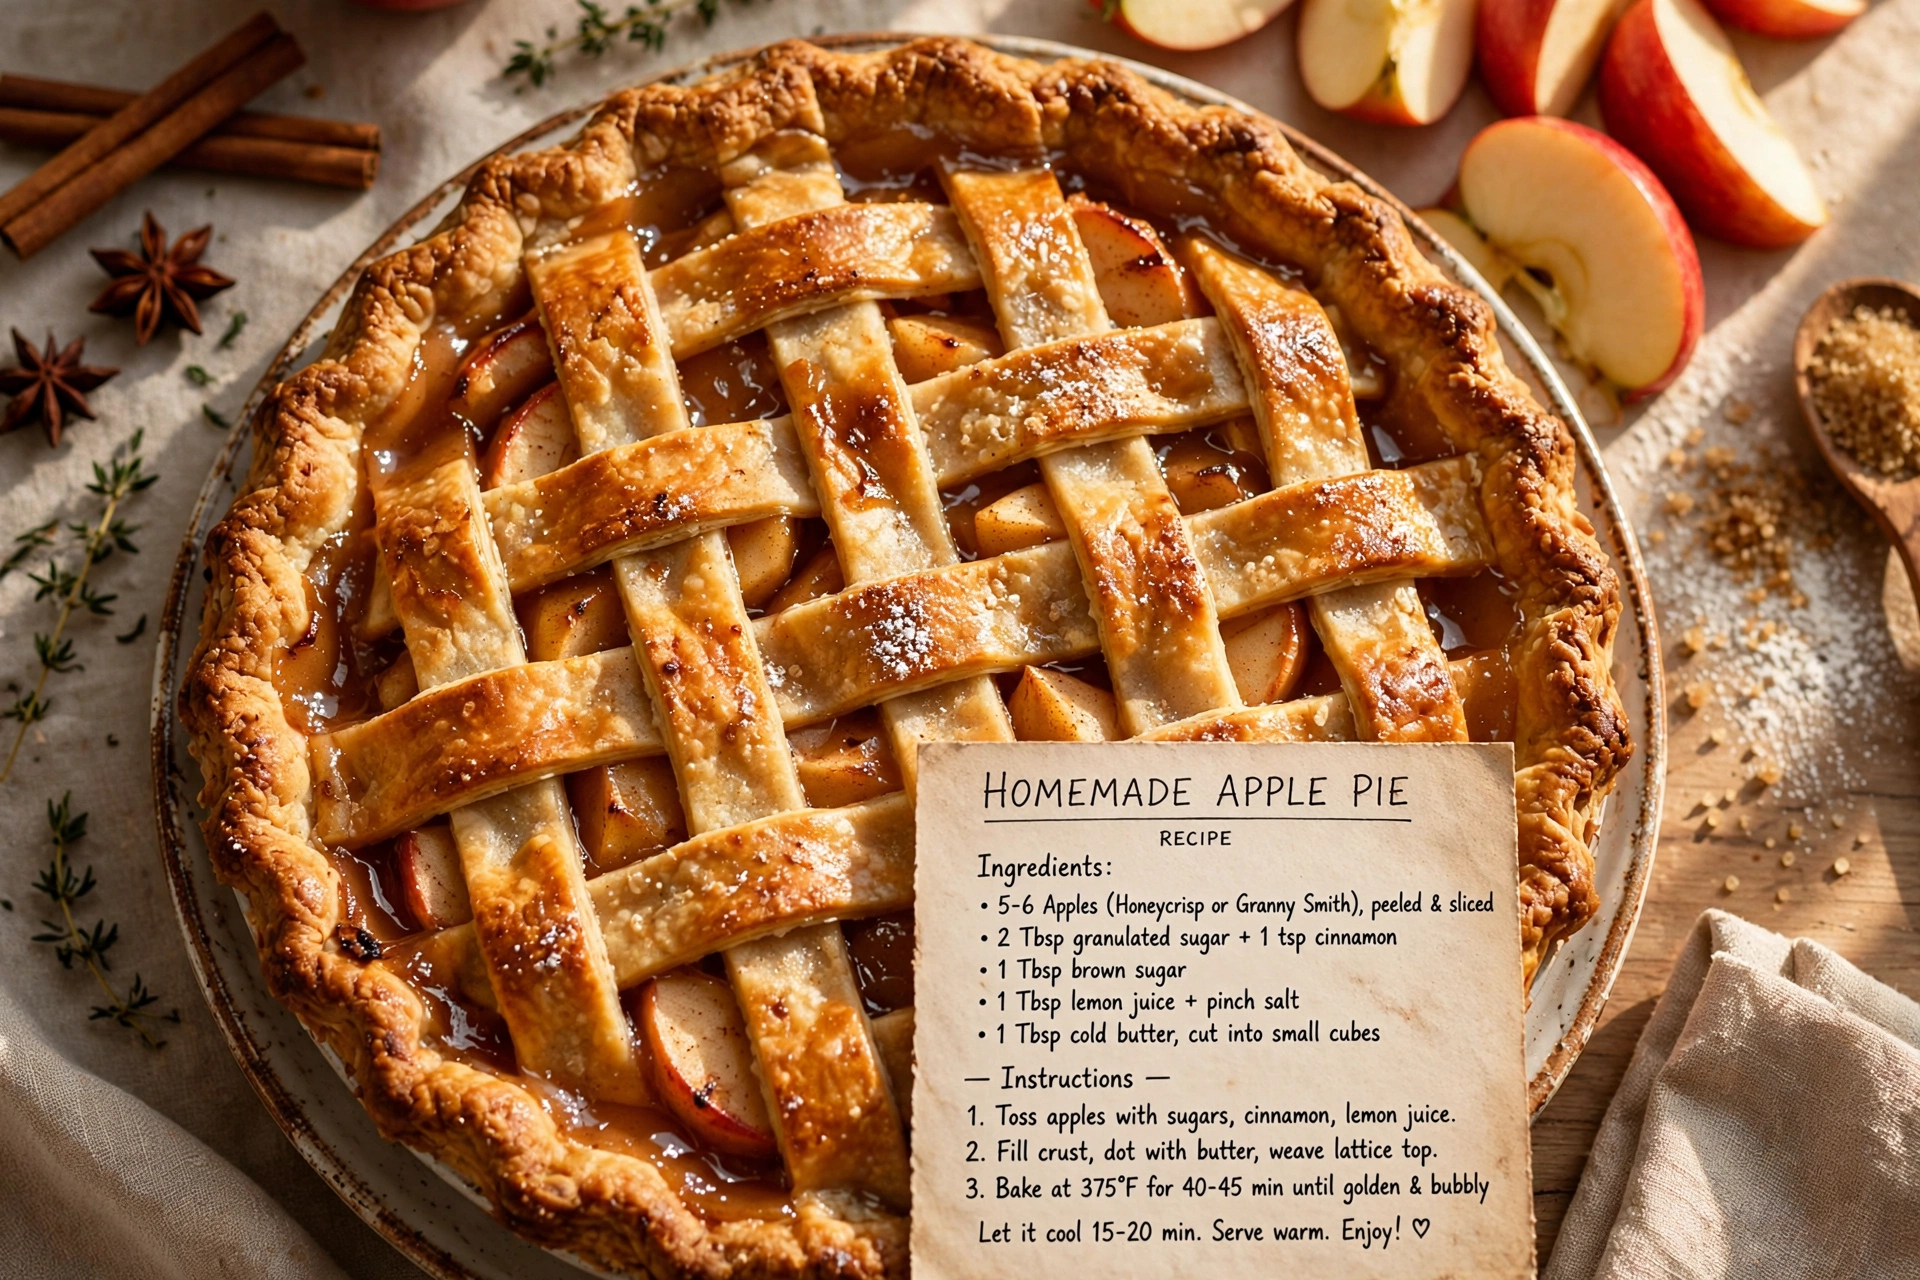
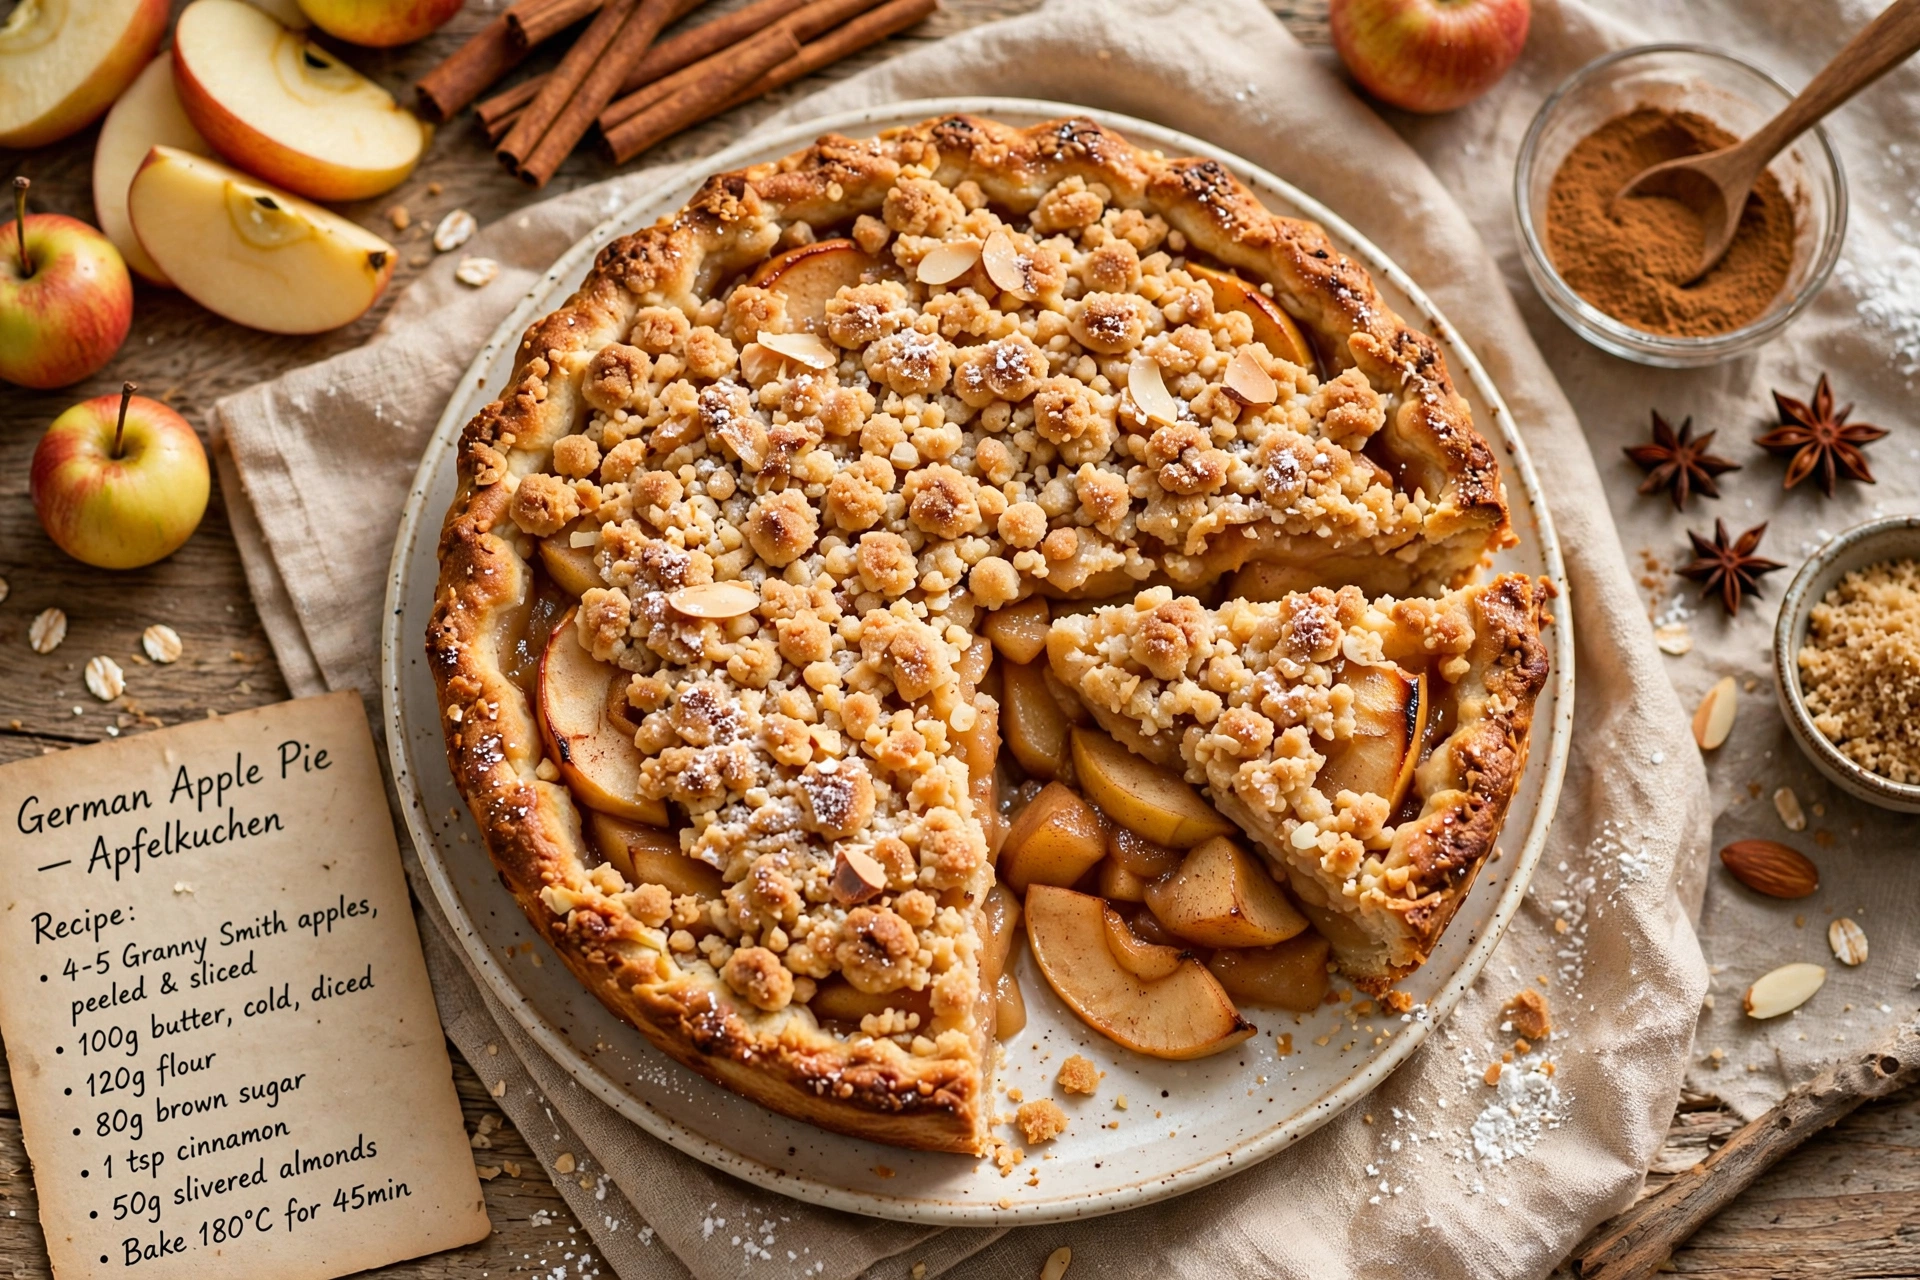
There is something deeply satisfying about opening your pantry in the middle of winter and pulling out a jar of golden, cinnamon spiced apples that you canned yourself back in the fall. This homemade apple pie filling for canning recipe turns a big batch of fresh apples into shelf stable jars that are ready to become a pie, a crumble, or a topping for pancakes at a moment's notice. Once you learn how to can apple pie filling properly, you will never want to buy the canned stuff from the store again.
Before we get cooking, the right tools and ingredients make a real difference here. A reliable water bath canner, a jar lifter, and true ClearJel (not a substitute) are what separate a safe, shelf-stable jar from a science experiment gone wrong. These are the products that genuinely help this recipe shine:
The Secret To Canning Apples For Pie Filling Safely
If you have researched canning apple pie filling before, you have probably run into a lot of conflicting advice, especially around thickeners. This is the single most important thing to understand when canning apples for pie filling:
- Cornstarch and flour are not safe for water bath canned pie filling because they do not allow heat to penetrate the jar evenly during processing.
- ClearJel is the only tested-safe thickener for this purpose. It is a modified cornstarch developed specifically for home canning.
- If you truly cannot find ClearJel, freeze the filling in freezer-safe containers instead of using a water bath, and use cornstarch there instead.
Chef's Tip: Look for ClearJel at bulk food stores, some grocery co-ops, or online. It is worth seeking out, since it is what makes this canning apple pie filling no clear jel workaround unnecessary and keeps your jars genuinely safe to store at room temperature.
Choosing The Right Apples
Not all apples hold up equally well to the heat of canning. For the best texture in your canned apple pie filling recipes, reach for firm, tart varieties that will not turn to mush.
Good choices include:
- Granny Smith
- Honeycrisp
- Braeburn
- Jonagold
Avoid soft apples like McIntosh or Red Delicious, since they tend to break down too much during processing and leave you with a mushy filling instead of tender apple slices.
How To Make And Can Apple Pie Filling Step By Step
Once your apples are peeled, sliced, and soaking in a bit of lemon water, the actual cooking process moves quickly. You will build a thick, glossy cinnamon syrup on the stovetop, fold in your apple slices just long enough to warm them through, then pack everything into hot jars while it is still bubbling. The syrup continues to thicken slightly as the jars cool, so do not worry if it looks a touch loose right off the stove.
Ready to make it? Here is the full step-by-step recipe:
Homemade Apple Pie Filling for Canning
Learn how to make and can apple pie filling at home with this easy, small-batch canning recipe, perfect for stocking your pantry with ready-to-bake apple pie filling all year long.
Ingredients
- 6 lb apples, peeled, cored, and sliced (Granny Smith or Honeycrisp work well)
- 2 1/2 cups granulated sugar
- 3/4 cup cornstarch, use only if freezing, not for water-bath canning
- 1 cup ClearJel, cook-type, required for safe canning instead of cornstarch
- 2 tsp ground cinnamon
- 1/2 tsp ground nutmeg
- 3/4 cup lemon juice, bottled, not fresh, for consistent acidity
- 5 cups water, divided
- 1/2 tsp salt
Instruction
Wash and prepare your canning jars, lids, and bands. Keep jars hot in a simmering water bath canner until ready to fill.
Peel, core, and slice the apples into 1/2-inch thick wedges. Place the slices in a large bowl of water with a splash of lemon juice to prevent browning while you work.
In a large pot, whisk together the sugar, ClearJel, cinnamon, nutmeg, and salt until no lumps remain.
Stir in the water and lemon juice, then bring the mixture to a boil over medium-high heat, stirring constantly until it thickens and becomes bubbly and translucent, about 1 to 2 minutes.
Drain the apple slices and fold them into the hot syrup. Cook for 3 minutes, just until the apples are heated through, stirring gently so they do not break apart.
Ladle the hot filling into hot, sterilized quart jars, leaving 1 inch of headspace. Use a bubble popper or chopstick to remove trapped air pockets.
Wipe the jar rims clean with a damp cloth, center the lids, and screw on the bands until fingertip tight.
Process the jars in a boiling water bath canner for 25 minutes, adjusting for altitude if needed.
Remove the jars and let them cool undisturbed on a towel for 12 to 24 hours, then check that all lids have sealed before storing.
Equipment
- Water bath canner
- Canning jars with lids and bands
- Large stockpot
- Jar lifter
- Ladle
- Bubble popper or chopstick
- Wide-mouth funnel
Notes
Storing, Serving, and Using Your Canned Apple Pie Filling
Once your jars have sealed and cooled, store them somewhere cool, dark, and dry, like a pantry shelf or basement cupboard. Properly sealed jars will keep for up to a year, though the flavor and texture are best within the first six to nine months.
When you are ready to use a jar, simply pour the filling into a prepared pie crust, top it, and bake as usual, no extra thickener or sugar needed. It also makes a fantastic quick topping for oatmeal, vanilla ice cream, or a batch of Sunday morning pancakes.
Chef's Tip: Always check that your lids have sealed (the center should be concave and not flex when pressed) before storing jars long term. Any unsealed jars should go straight into the refrigerator and be used within a couple of weeks.
With a few jars of this apple pie filling to canning recipe tucked away, homemade pie is always just a pie crust away.