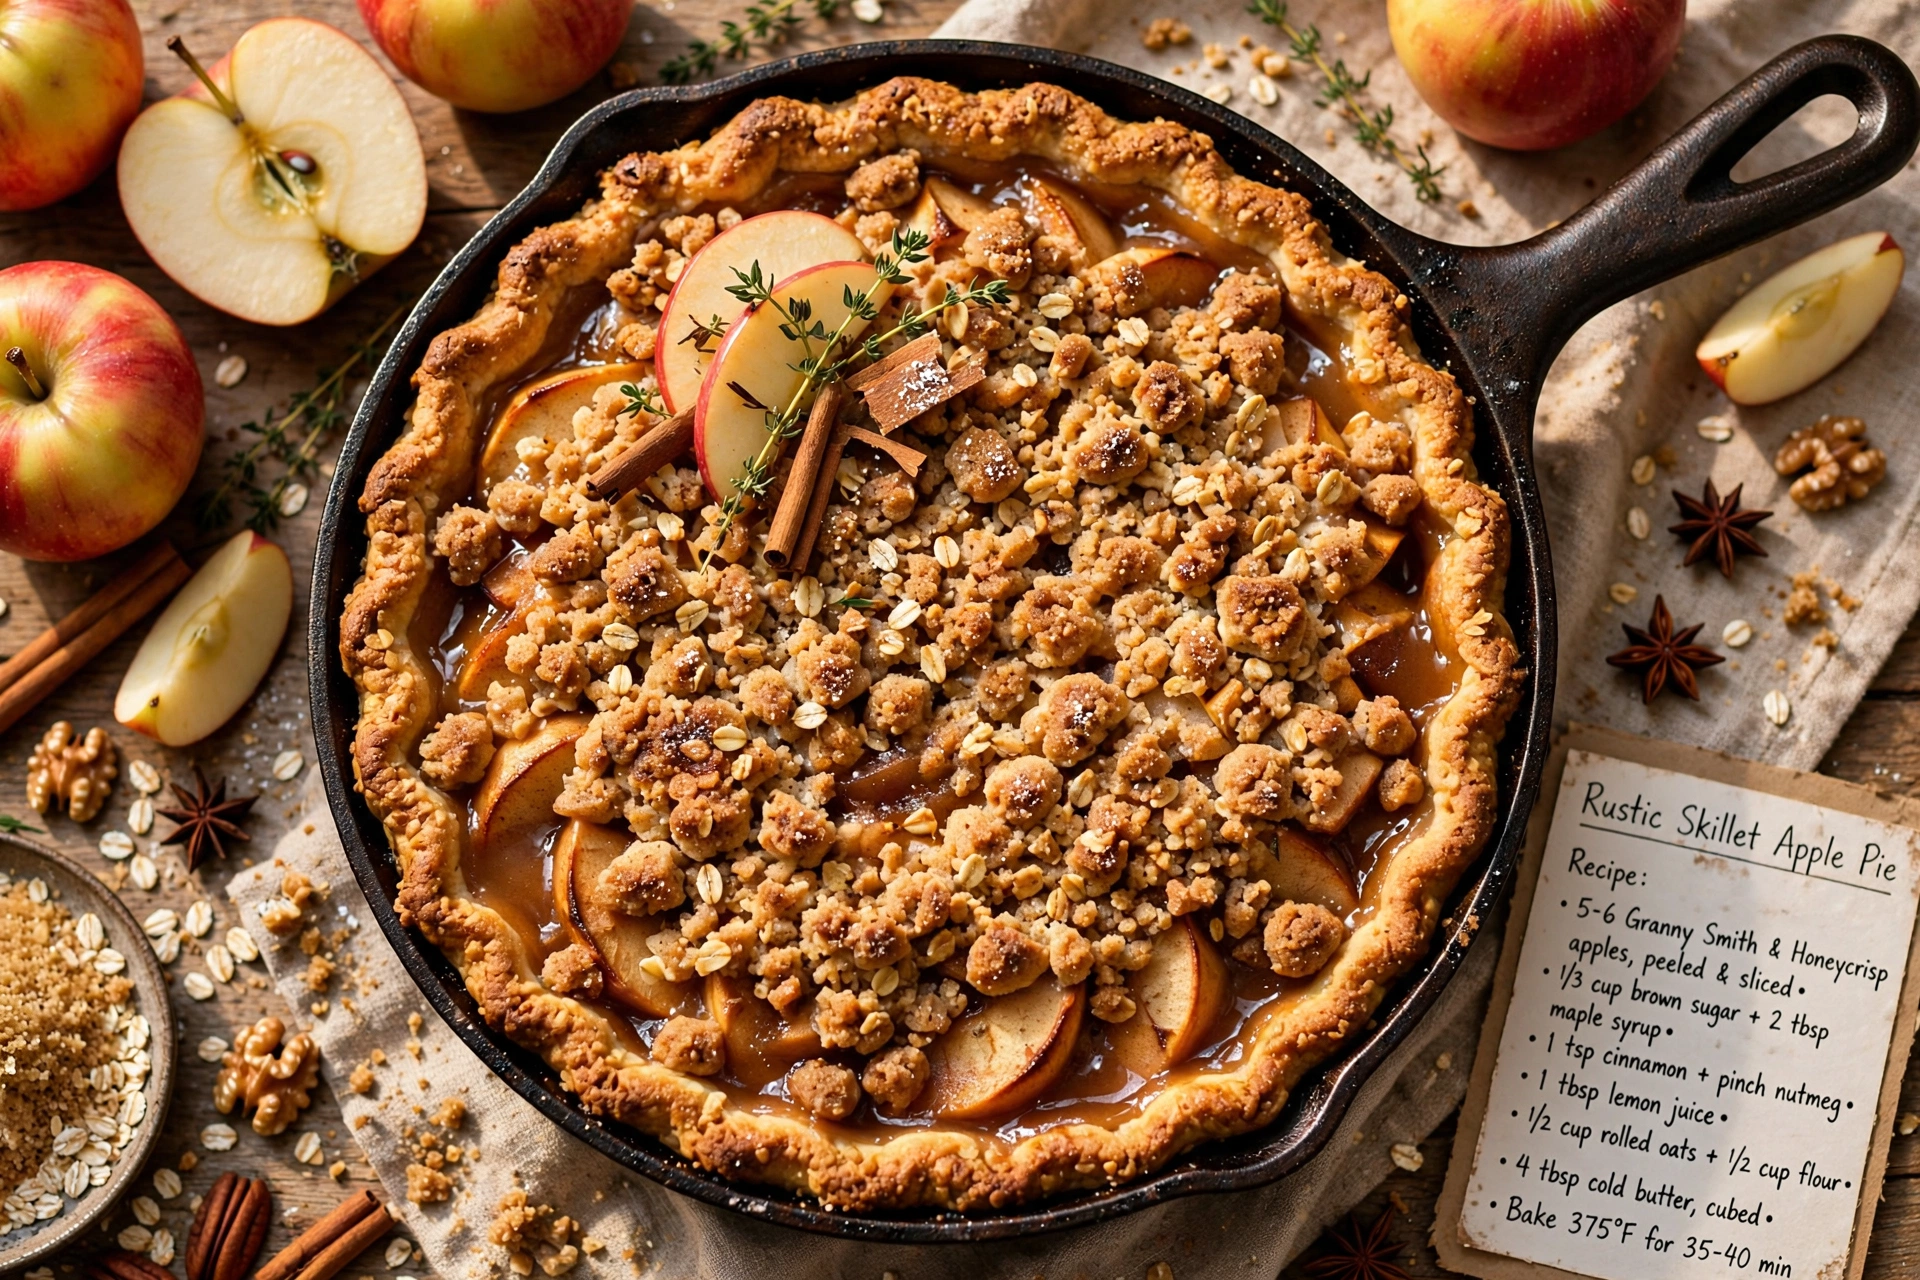
Rustic Skillet Apple Pie
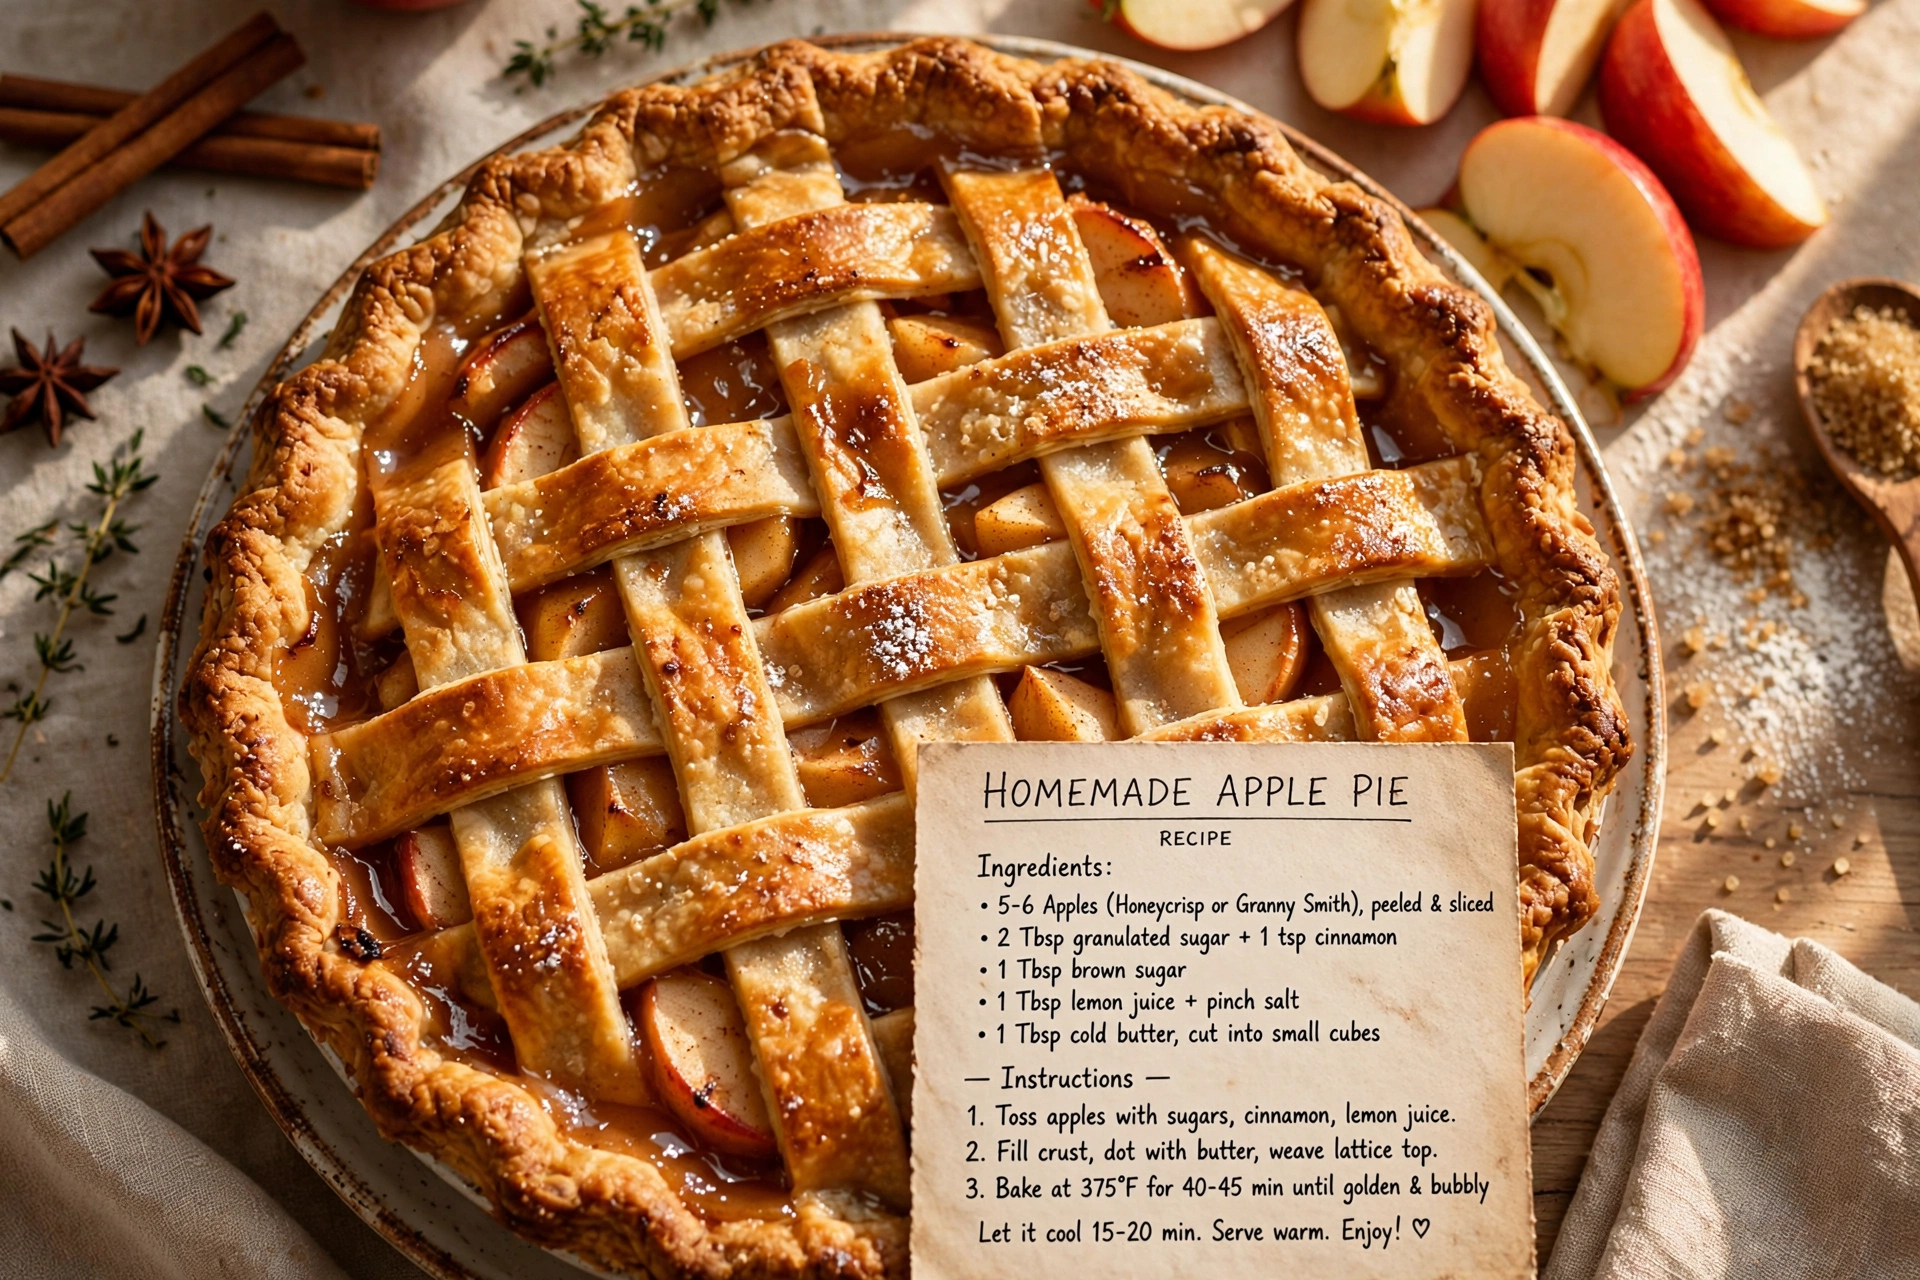
This rustic skillet apple pie bakes up bubbling and golden in a cast iron pan, with a flaky crust and warm apple pie spice in every bite.

A Skillet Apple Pie That Feels Like Home
There is something about a rustic skillet apple pie that feels more honest than a fussy, perfectly fluted pie plate version. The edges are a little uneven, the crust puffs up wherever it wants to, and the whole thing bubbles over just enough to caramelize against the hot cast iron. If you have ever loved a Pioneer Woman skillet apple pie or dreamed about stove top apple pie nostalgia, this is the recipe that brings it all together in one pan.
Baking a pie directly in a cast iron skillet does more than look pretty for photos. The heavy pan holds and distributes heat evenly, so the bottom crust actually cooks through instead of turning soggy, which is the number one apple pie complaint. It is one of my favorite cast iron desserts for exactly this reason.
Before we get cooking, the right tools and ingredients make a real difference here. A well seasoned cast iron skillet, a sturdy pastry cutter, and good quality apple pie spice all help this rustic apple pie recipe turn out the way it should, with a crisp golden crust and a filling that is spiced just right.
Why Cast Iron Is the Secret Weapon
A cast iron skillet does double duty in this recipe. First, you melt butter right in the pan and use that same skillet to build the crust, so you get a golden, slightly crisp bottom that a glass pie dish simply cannot replicate. Second, the skillet goes straight from stovetop to oven, which means fewer dishes and a shorter path from prep to bake.
Chef's Tip: If your skillet is well seasoned, you likely will not need to grease it beyond the butter already in the recipe. If it is newer or less seasoned, a light wipe of extra butter or oil around the sides prevents sticking.
This method is part of what makes rustic pie recipes so appealing. There is no need for a perfectly crimped edge or a flawless lattice. A slightly imperfect, hand-crimped crust is exactly the look you want.
Choosing and Prepping Your Apples
Not all apples behave the same way in the oven. For the best apple pie skillet recipe, you want a mix of textures and sweetness levels:
- Granny Smith apples hold their shape and add welcome tartness
- Honeycrisp apples bring natural sweetness and a satisfying bite
- Braeburn or Jonagold are great backups if the first two aren't available
Slice the apples evenly, about a quarter inch thick, so they cook at the same rate. Tossing them with lemon juice early on keeps them from browning while you finish the crust.
The apple pie spice is where a lot of the magic happens. If you love recipes with apple pie spice, you know it is really just a warm blend of cinnamon, nutmeg, allspice, and sometimes a touch of cardamom or clove. It gives the filling that cozy, familiar aroma without you needing to measure out five separate spice jars.
Building the Pie in the Skillet
Once your dough has chilled and your apples are tossed with sugar, spice, and cornstarch, it is time to assemble everything right in the pan. Melting butter in the skillet first and swirling it up the sides isn't just for flavor, it also helps the crust release cleanly once the pie is baked and cooled.
Whether you go with a full top crust, a lattice, or even a simple crumb topping, the skillet format is forgiving. Ready to make it? Here is the full step-by-step recipe:
Rustic Skillet Apple Pie
This rustic skillet apple pie bakes up bubbling and golden in a cast iron pan, with a flaky crust and warm apple pie spice in every bite.
Ingredients
- 2 1/2 cups all-purpose flour, plus extra for rolling
- 1 tbsp granulated sugar, for the crust
- 1 tsp salt, divided
- 1 cup unsalted butter, cold, cubed, divided between crust and filling
- 1/2 cup ice water, plus more as needed
- 7 apples, peeled, cored, and sliced; a mix of Granny Smith and Honeycrisp works best
- 3/4 cup brown sugar, packed
- 1/4 cup granulated sugar, for the filling
- 2 tsp apple pie spice, store-bought or homemade blend
- 1 tbsp lemon juice, freshly squeezed
- 2 tbsp cornstarch, to thicken the filling
- 1 tsp vanilla extract, pure
- 1 large egg, beaten, for egg wash
- 1 tbsp coarse sugar, for topping, optional
Instruction
In a large bowl, whisk together the flour, 1 tablespoon granulated sugar, and 1/2 teaspoon salt. Cut in 3/4 cup of the cold butter with a pastry cutter or your fingers until the mixture resembles coarse crumbs.
Drizzle in the ice water, 1 tablespoon at a time, mixing gently until the dough just comes together. Divide into two disks, wrap in plastic, and chill for at least 1 hour.
Preheat the oven to 400 degrees F (200 degrees C).
In a large bowl, toss the sliced apples with brown sugar, remaining granulated sugar, apple pie spice, remaining 1/2 teaspoon salt, lemon juice, cornstarch, and vanilla extract until evenly coated.
Melt the remaining 1/4 cup butter in a 10 to 12 inch cast iron skillet over medium heat. Swirl to coat the bottom and sides, then remove from heat.
Roll out one dough disk on a floured surface into a circle large enough to line the skillet. Press it into the bottom and up the sides of the skillet.
Pour the apple filling into the crust-lined skillet, mounding it slightly in the center.
Roll out the second dough disk and place it over the filling, or cut it into strips for a lattice top. Trim and crimp the edges to seal.
Cut a few slits in the top crust to let steam escape. Brush the crust with beaten egg and sprinkle with coarse sugar.
Place the skillet on a baking sheet to catch any drips, and bake for 45 to 50 minutes, until the crust is deep golden brown and the filling is bubbling.
Let the pie cool in the skillet for at least 30 minutes before slicing, so the filling has time to set.
Equipment
- 10 to 12 inch cast iron skillet
- Rolling pin
- Pastry cutter
- Large mixing bowls
- Baking sheet
Notes
Serving, Storing, and Make-Ahead Tips
Let the pie rest in the skillet for at least 30 minutes after baking. I know the smell coming from the oven makes this hard, but cutting in too early means a soupy, unset filling. That resting time lets the cornstarch finish its job and the juices settle back into the apples.
Serve warm, straight from the skillet, with a scoop of vanilla ice cream melting slightly over the top. Leftovers keep beautifully covered at room temperature for a couple of days, or in the fridge for up to five, and a quick stint in the oven brings the crust back to life far better than the microwave ever could.
However you serve it, this rustic skillet apple pie is the kind of dessert that turns a regular weeknight into something worth gathering around.